How to start a pentest
Last updated: November 12, 2026
Use the Start a Pentest wizard to choose a pentest type, an optional objective and a testing approach, and then pick the targets to test. You can start pentests on several targets at once.
Availability
The pentest types you can choose depend on your plan. A type that isn't in your plan shows the message "This scan type is not available with your current plan." with an Upgrade link.
Before you start
Finish the setup of every target you want to test. Read more in How to add and manage targets.
For a grey box pentest of a web app, add a user credential to the target. Read more in How to add a user credential for a web target.
For a mobile app, upload the latest APK or IPA file to the target.
For a web app, allow Astra's scanner IPs through your firewall. Read more in How to make sure Astra's scanner can reach your application.
Start a pentest
Click Start a Scan on the Home page or on a target's page.
Under Select Scan, choose Pentest. Each option lists the target types it applies to under Applicable For.
Under Pentest Type, choose one of these:
Hybrid Pentest (Human + Autonomous): autonomous AI and certified pentesters work together. Available for web apps.
Autonomous Pentest: AI-driven testing that explores the attack surface and chains vulnerabilities. Available for web apps.
Manual Pentest: a manual engagement with certified pentesters. Available for web apps, APIs, cloud infrastructure, iOS, Android and other targets.
Optional: under Objective, choose one or more objectives, such as Comprehensive Testing, SOC 2, PCI DSS, ISO 27001, CREST, WASA, CERT-IN or Other.
Under Testing Approach, choose Grey Box to test behind your login with the credentials or login recording on the target, or Black Box to test without signing in.
Click Select Target.
Select the targets to test, and then click Start Scan. With several targets selected, the button reads Start Scans.
For a web target, Astra asks "Have you whitelisted our scanner IPs?". Click Yes, Start Scan (or Yes, Start Scans) to continue.
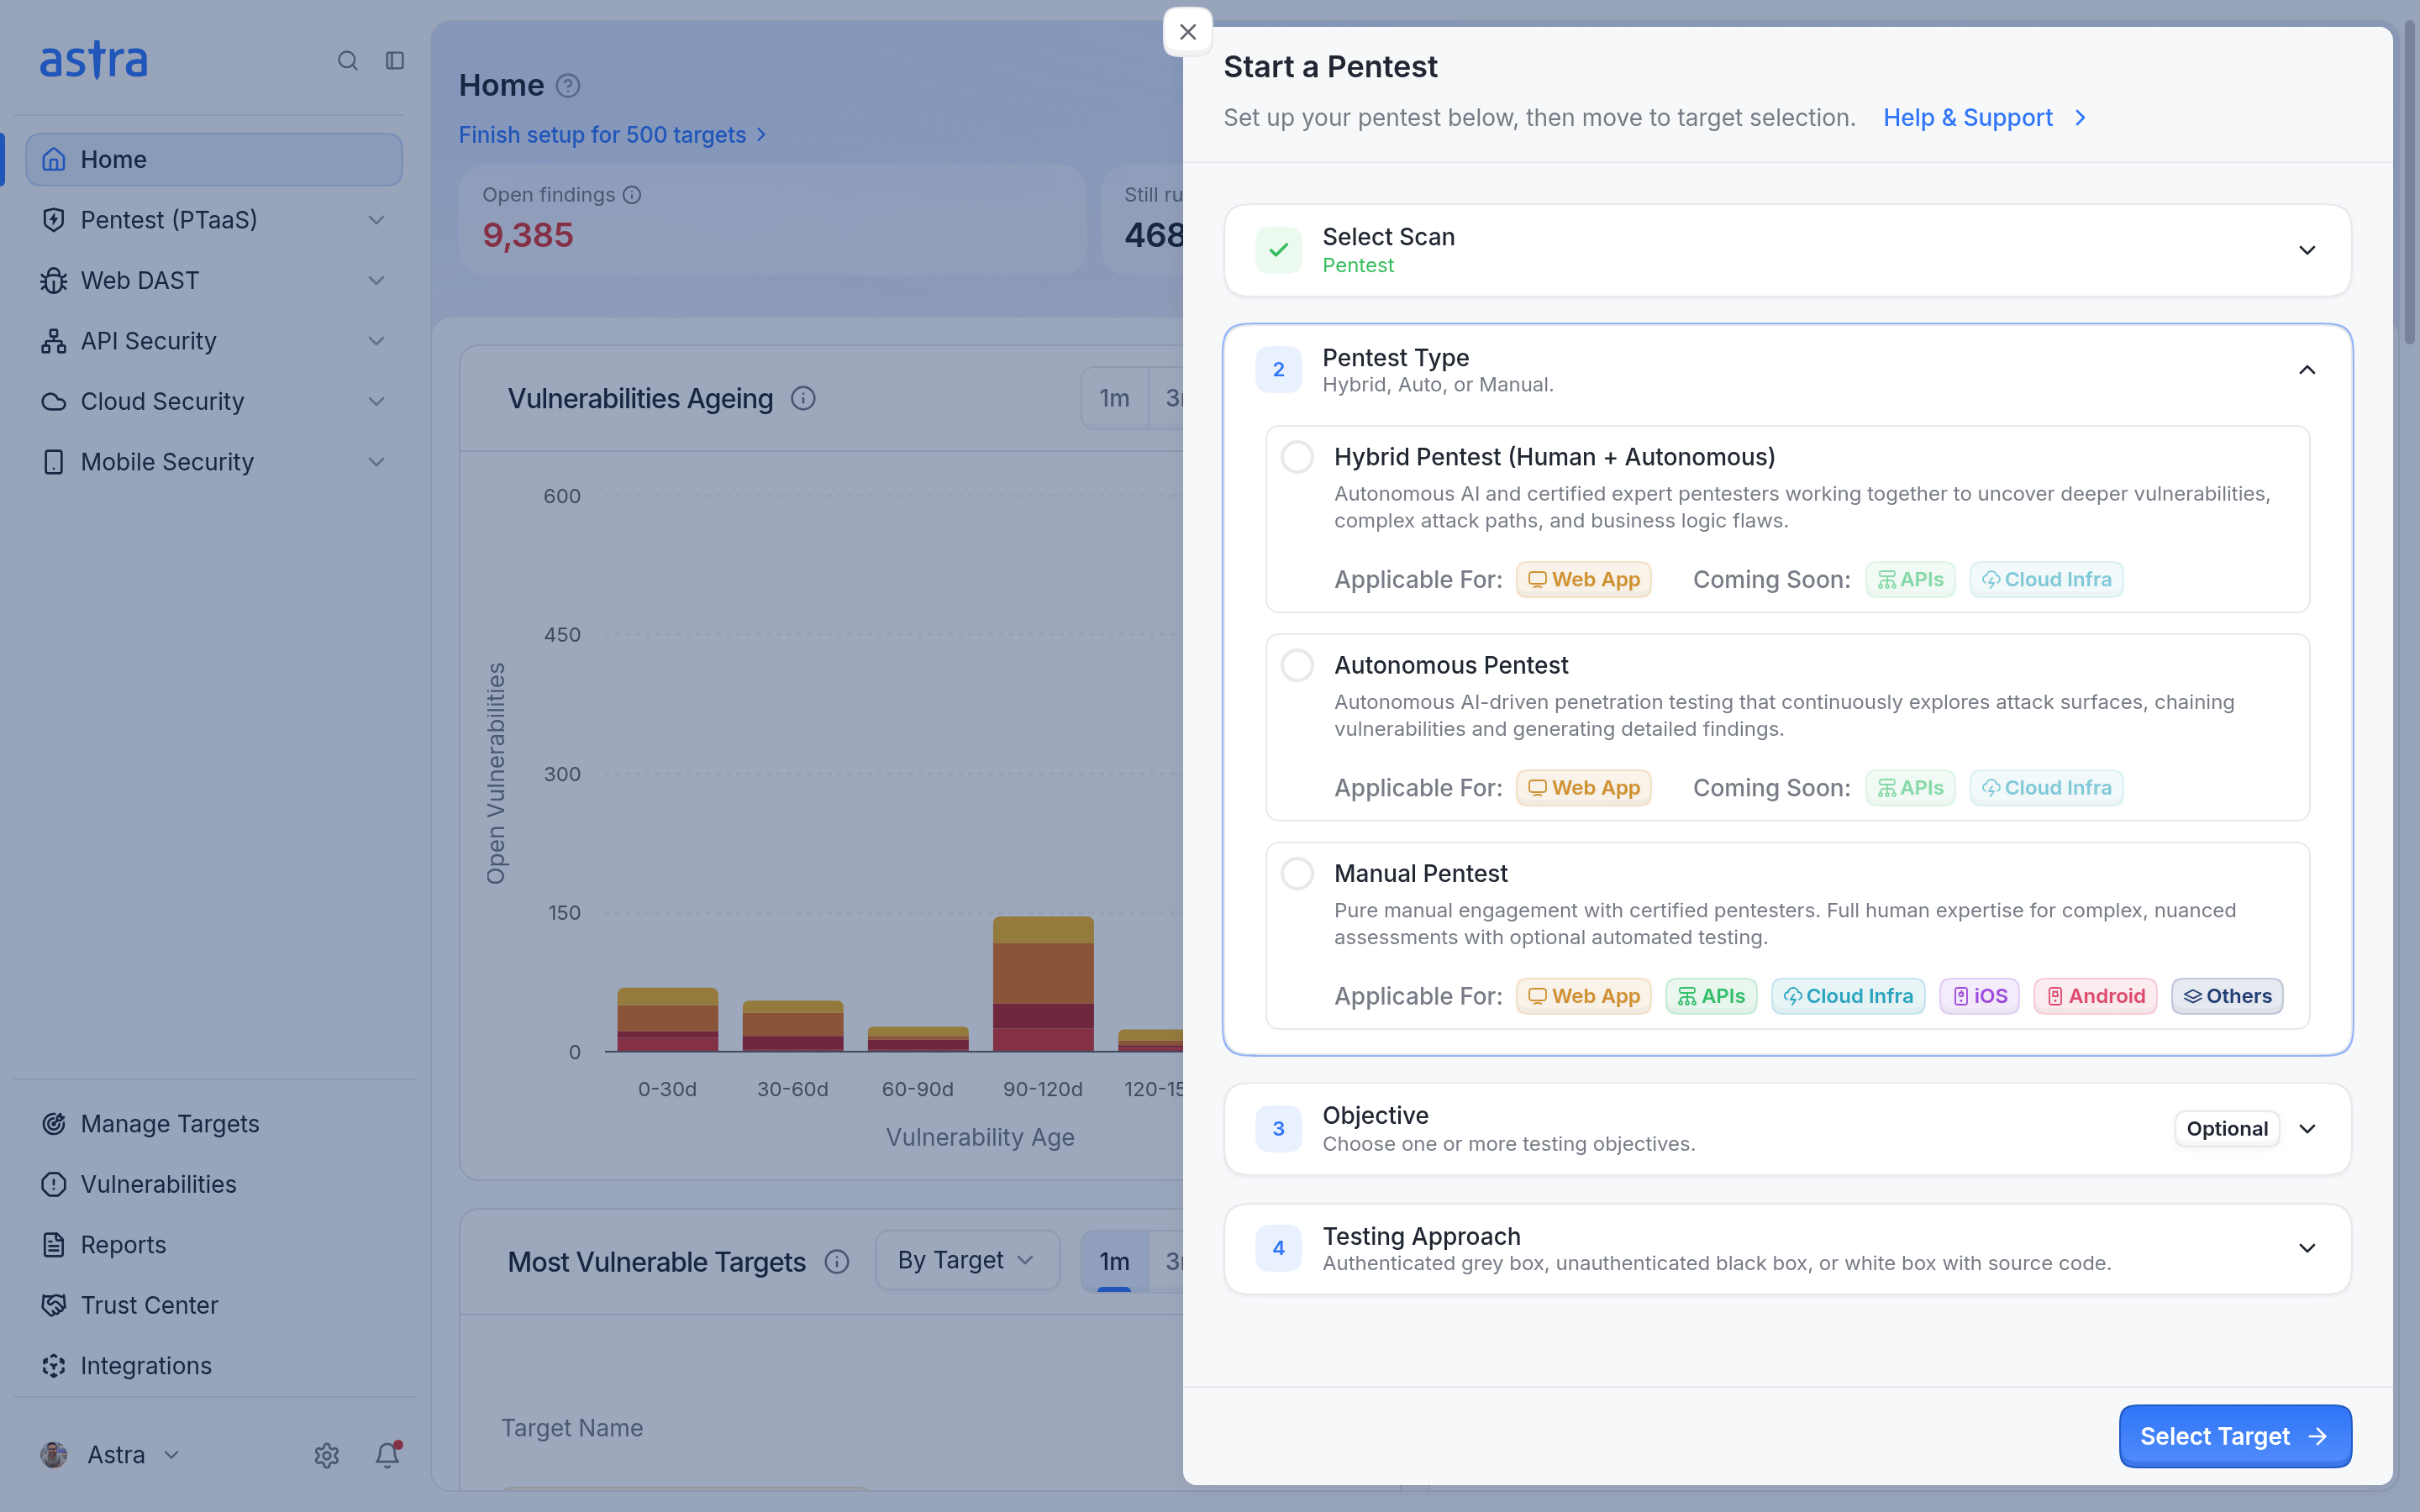
The Pentest Type step lists Hybrid, Autonomous and Manual pentests with the target types each applies to.
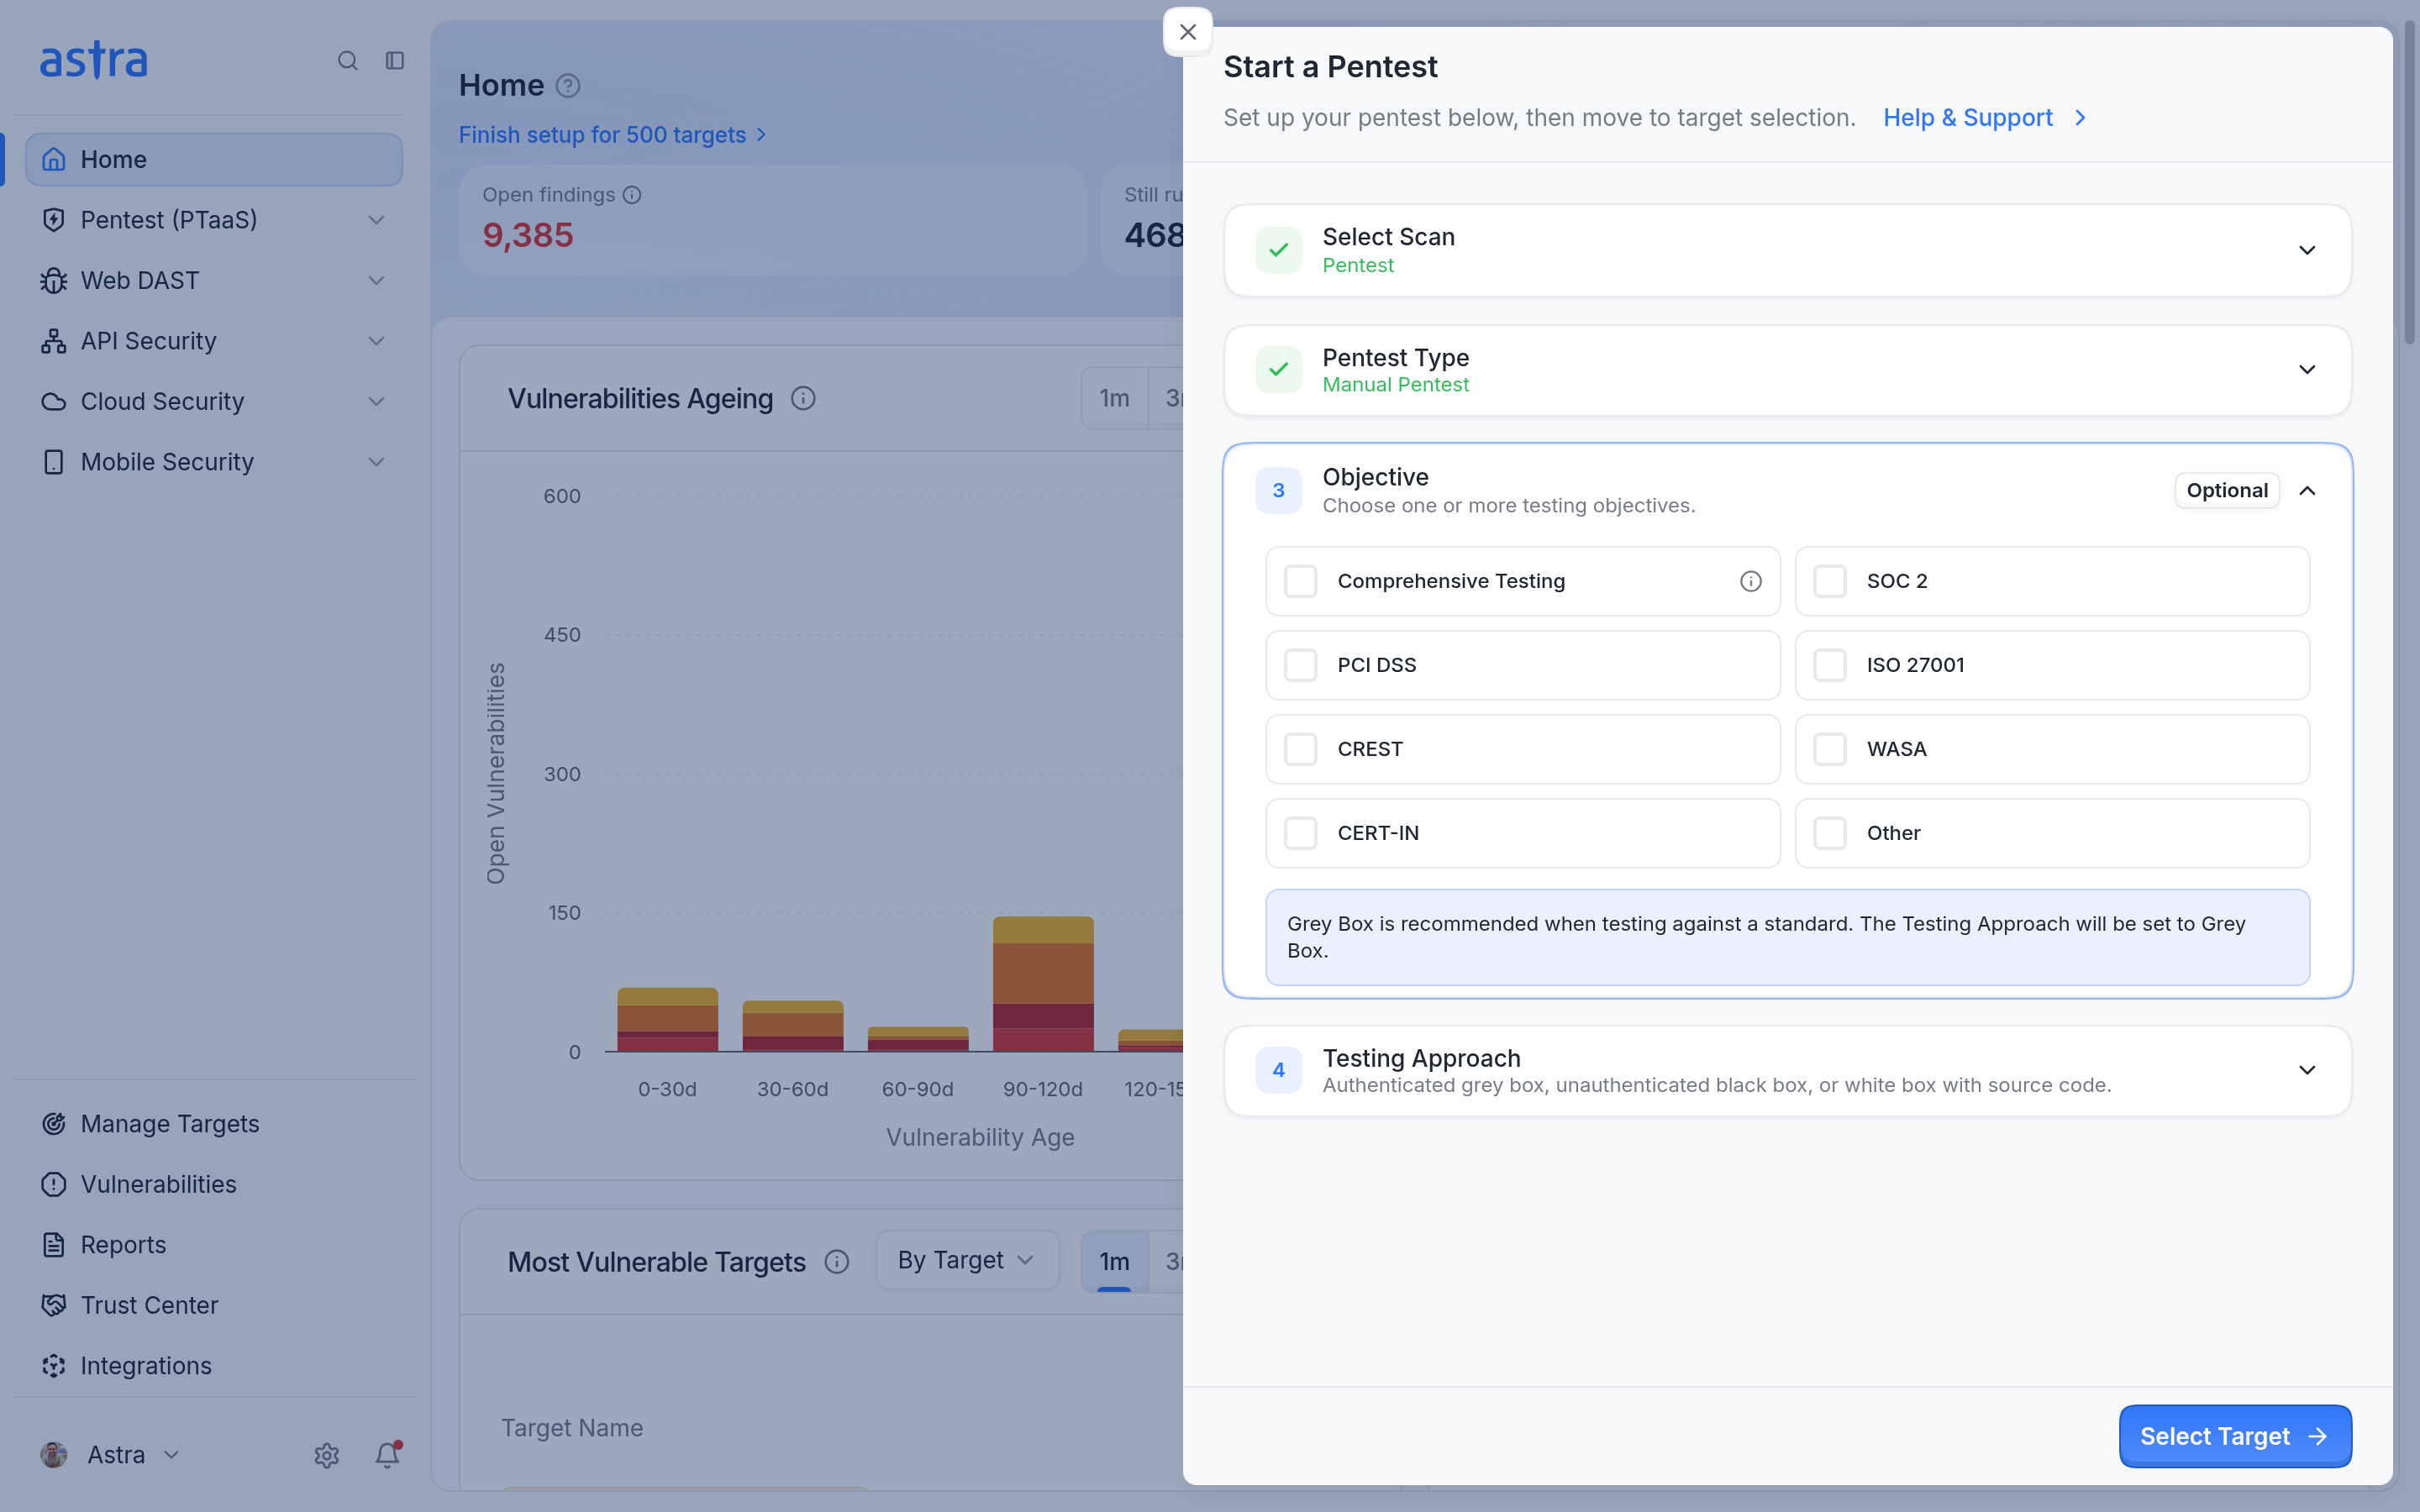
Choosing an objective sets the testing approach to Grey Box.
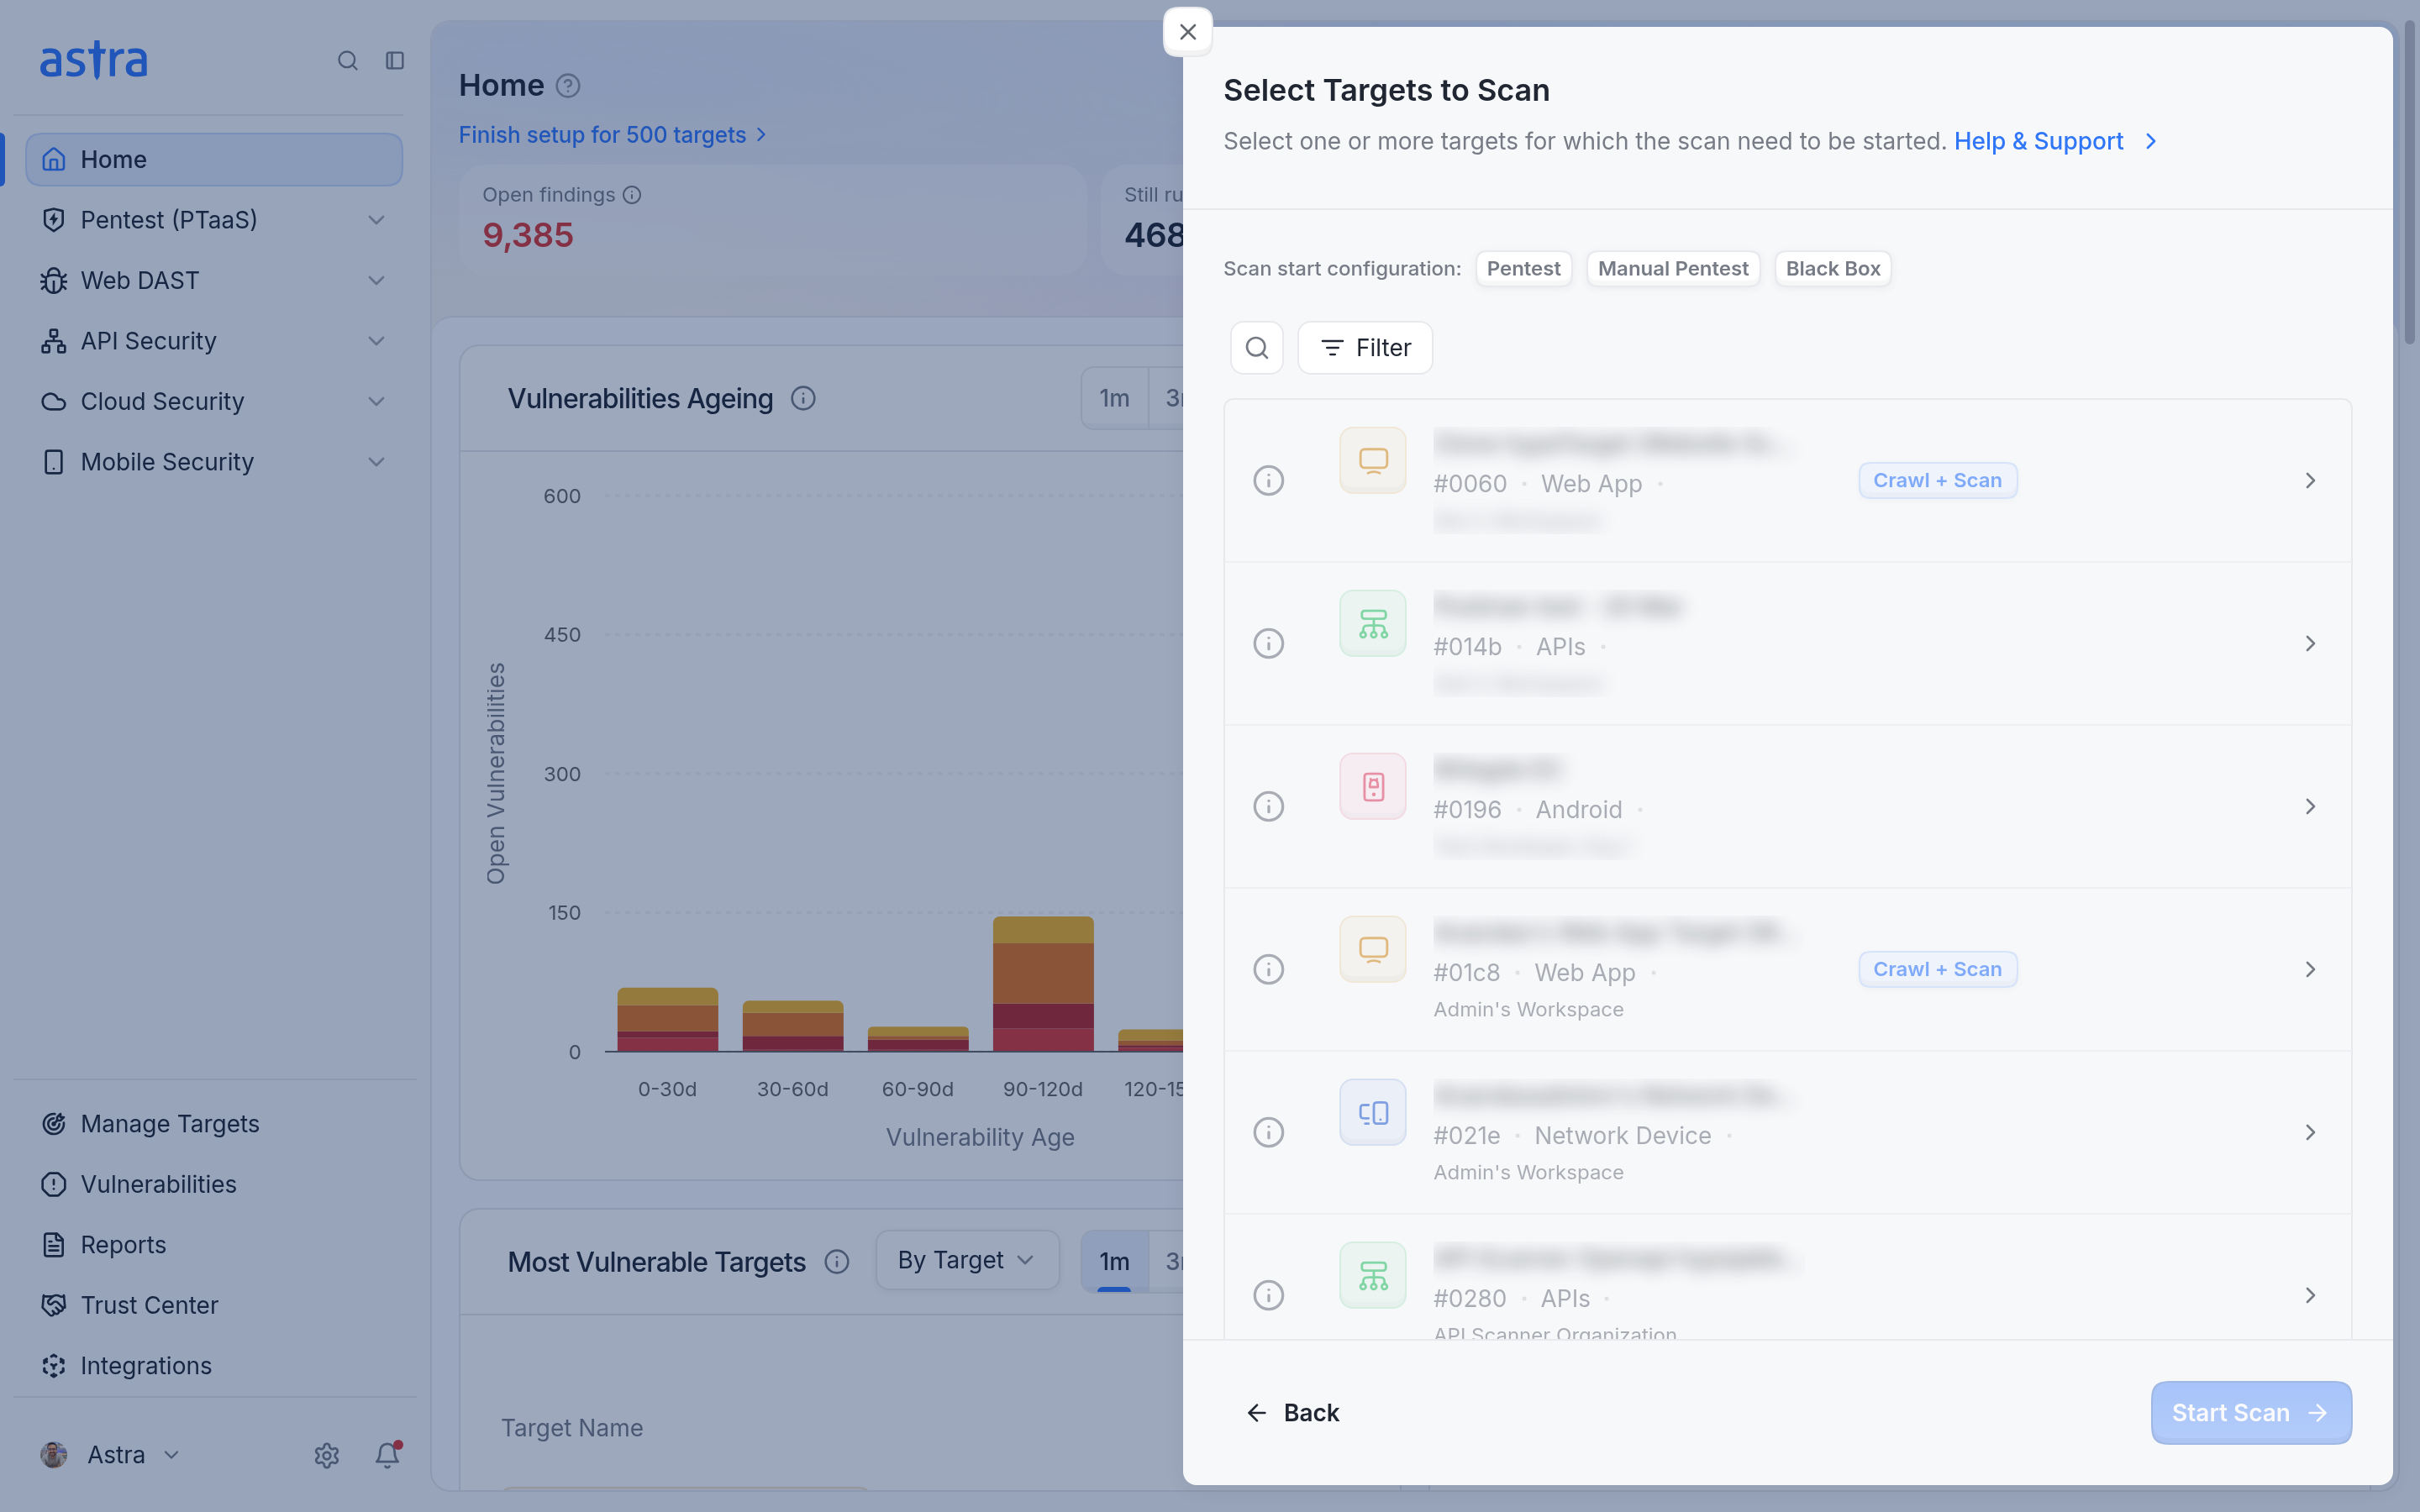
The Select Targets to Scan step shows the chosen configuration above the list of targets.
When the pentests start, Astra shows "All Scans Started Successfully". The new pentests appear on the Pentests page.
Note
When you choose an objective, the testing approach is set to Grey Box, because grey box is recommended when you test against a standard.
What the targets step checks
The Select Targets to Scan step shows the scan configuration you chose at the top, and how much of your plan's quota each target has used. Before the scan starts, Astra checks each selected target:
Grey box needs credentials. If a selected target has no credentials or login recording, Astra asks you to "Add credentials for every selected target, or switch to black box."
Black box is for targets without credentials. Black box applies only to targets that have no credentials or login recording.
Mobile apps need a build file. Astra asks you to "Upload an APK or IPA for every selected mobile target before starting."
Web apps must be reachable. If Astra can't reach a web target, it shows "Target is unreachable, ensure Astra's scanner IPs are whitelisted."
If you leave the targets step before you start the scan, Astra asks you to confirm with Leave start scan?.
To compare pentests with the other scan types, read Scan types and expert vetting explained.
FAQ
Why can't I choose Manual Pentest after I added credentials?
Credentials don't unlock a pentest type. The pentest types you can start depend on your plan. If Manual Pentest shows "This scan type is not available with your current plan.", click Upgrade or contact Astra support.