Integrate your CI/CD with Astra's OrbitX
Last updated: June 8, 2026
Introduction
This guide walks you through connecting your CI/CD pipeline to Astra's OrbitX so that security scans run automatically every time you deploy code. By the end of this setup, your pipeline will trigger vulnerability scans without any manual intervention, and you can optionally configure it to fail builds when high-severity issues are detected.
Who this is for: Developers or DevOps engineers with admin access to their CI/CD platform and the Astra dashboard.
Estimated time: 15–30 minutes depending on your CI/CD tool.
Prerequisites:
An active Astra OrbitX account with at least one verified and active target
Admin or owner-level access to your CI/CD platform (GitHub, GitLab, Jenkins, Bitbucket, Azure DevOps, or CircleCI)
Your Astra Access Token and Project ID (retrieved from the Integrations page in the dashboard)
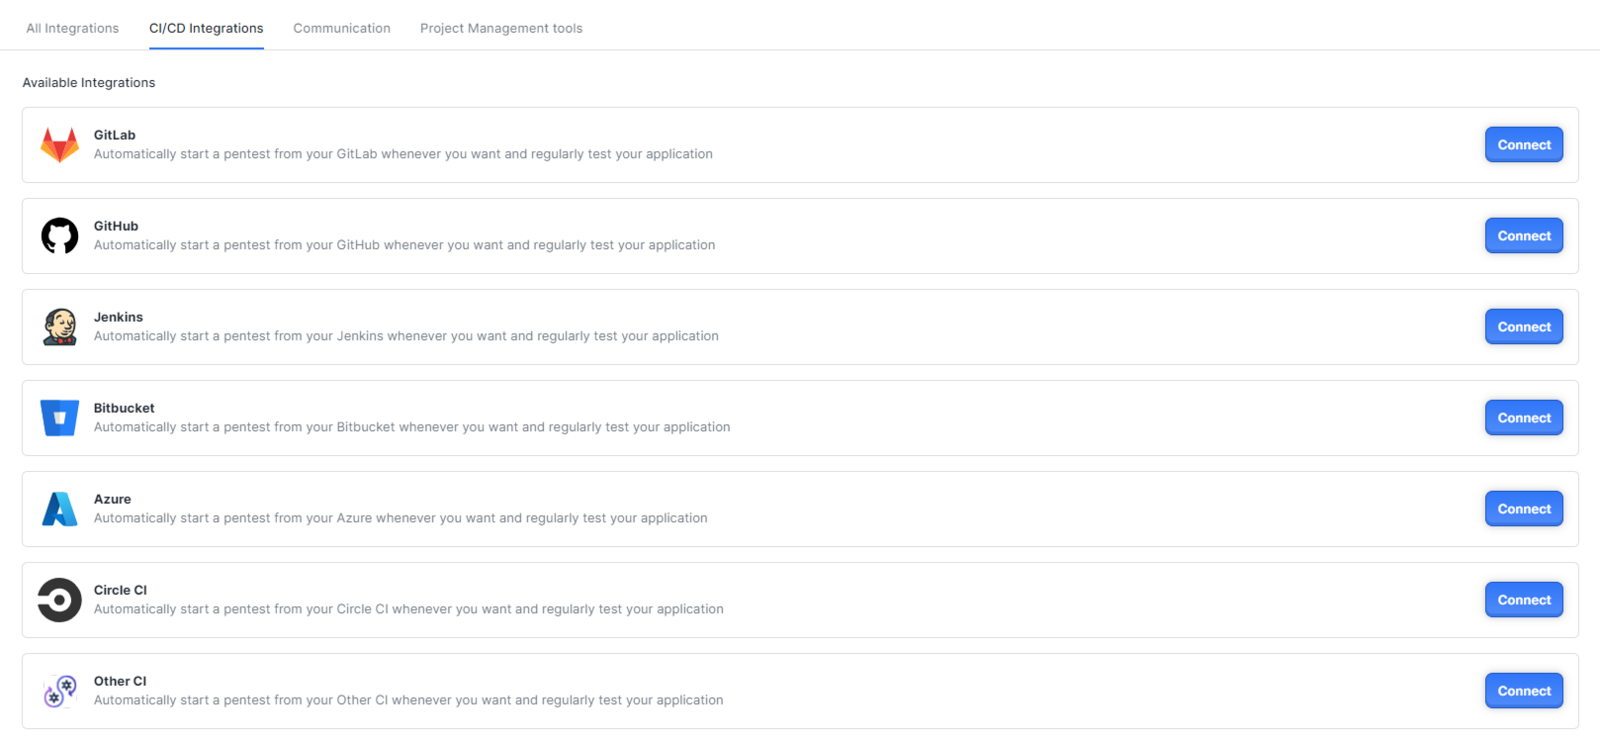
Available CI/CD Integrations
Setup Steps
Step 1: Access the Integrations Page
Log in to your Astra Dashboard at my.getastra.com.
From the left sidebar, navigate to Pentest and open the project you want to audit from your CI/CD pipeline.
Go to the Integrations tab inside that project.
Locate and click the icon for your CI/CD tool.
Step 2: Retrieve Your Credentials
Before editing any pipeline files, collect the two values you will need:
ASTRA_ACCESS_TOKEN — your personal authentication token, visible in the Integrations panel
ASTRA_PROJECT_ID — your project identifier, also visible in the Integrations panel
Keep these values ready. You will store them as environment variables or secrets in your CI/CD platform.
Step 3: Configure Your CI/CD Tool
Follow the instructions for your specific platform below.
GitHub
In your GitHub repository, go to Settings → Secrets and variables → Actions.
Click New repository secret and add ASTRA_ACCESS_TOKEN with the value copied from the dashboard.
Add the following step to your workflow YAML file, placed after your deploy step:
- shell: bash
name: Run an Astra Pentest
env:
ASTRA_ACCESS_TOKEN: ${{ secrets.ASTRA_ACCESS_TOKEN }}
ASTRA_PROJECT_ID: COPY-FROM-DASHBOARD
ASTRA_AUDIT_MODE: automated
run: |
wget -O - https://git.io/JSHtC | bash
GitLab
In your GitLab project, go to Settings → CI/CD → Variables.
Click Expand, then Add variable.
Add ASTRA_ACCESS_TOKEN and ASTRA_PROJECT_ID. Uncheck both Mask variable and Protect variable.
Add the following stage to your .gitlab-ci.yml:
pentest-job:
stage: .post
variables:
ASTRA_AUDIT_MODE: automated
script:
- wget -O - https://git.io/JSHtC | bash
Jenkins
Add the following stage to your Jenkinsfile, replacing the placeholder values with those from your dashboard:
pipeline {
agent any
environment {
ASTRA_PROJECT_ID = 'redacted'
ASTRA_ACCESS_TOKEN = 'redacted'
ASTRA_AUDIT_MODE = 'automated'
}
stages {
stage('build') {
steps {
sh 'wget -O - https://git.io/JSHtC | bash'
}
}
}
}
Bitbucket
In your Bitbucket repository, go to Repository settings → Pipelines → Repository variables.
Add ASTRA_ACCESS_TOKEN and ASTRA_PROJECT_ID. Uncheck Secured for both.
Add the following step to your bitbucket-pipelines.yml, after the deploy stage:
- step:
name: 'Astra Pentest Job'
script:
- export ASTRA_AUDIT_MODE="automated"
- wget -O - https://git.io/JSHtC | bash
Azure DevOps
Open your pipeline in Azure DevOps at dev.azure.com.
Select your project, click Pipelines, locate your pipeline, and click Edit.
Click Variables and add ASTRA_ACCESS_TOKEN and ASTRA_PROJECT_ID. Do not select Keep this value secret.
Add the following stage to your YAML pipeline file, after the deploy stage:
variables:
ASTRA_AUDIT_MODE: "automated"
steps:
- script: |
wget -O - https://git.io/JSHtC | bash
displayName: 'Run an Astra Pentest'
CircleCI
In CircleCI, click the Settings (⚙) icon for your project.
Navigate to Environment Variables → Add Variable and add ASTRA_ACCESS_TOKEN and ASTRA_PROJECT_ID.
In your .circleci/config.yml, add the following to the jobs section:
astra-pentest-trigger:
machine:
image: ubuntu-2004:202008-01
environment:
ASTRA_AUDIT_MODE: automated
steps:
- run:
command: wget -O - https://git.io/JSHtC | bash
Add astra-pentest-trigger to the jobs list under your workflow.
Step 4: Trigger Your First Scan
Once your pipeline file is saved and committed, push a change to your repository to trigger the pipeline. The Astra scan step will execute automatically after your deploy step completes.
To confirm the scan started:
Log in to your Astra Dashboard.
Navigate to Pentest → Continuous Scans.
You should see a new scan appear with the source listed as CI/CD.
This is your "quick win" — a security scan running automatically as part of your deployment process.
Feature / Page Overview: CI/CD Integrations Panel
Summary
The CI/CD Integrations panel inside each Astra project lets you connect your deployment pipeline to Astra's vulnerability scanner. Once connected, every deployment can automatically trigger a scan, giving your team continuous security feedback without any manual effort.
Who Should Use This
Developers who want automated security checks on every pull request or deployment
DevSecOps teams building security gates into their release process
Security leads who need evidence that every release was scanned before going live
Key Configuration Options
Available Pipeline Exit Strategies
always_pass — Triggers the scan and immediately returns a success status. The pipeline does not wait for results. Use this when you want visibility without blocking deployments.
fail_when_vulnerable — The pipeline waits for scan results and fails if vulnerabilities matching your exit criterion are found. Use this to enforce security gates before release.
wait_for_completion — The pipeline waits for the scan to finish before continuing, but does not fail even if vulnerabilities are found. Use this when you need the scan to complete before the next pipeline stage.
Best Practices
Use lightning scan type for every CI/CD run to keep pipelines fast. Reserve full scans for nightly builds or pre-release branches.
Use delta inventory coverage on CI/CD runs and full on scheduled overnight scans to balance speed and completeness.
Store ASTRA_ACCESS_TOKEN as a secret, never as a plain-text environment variable.
Set ASTRA_JOB_EXIT_STRATEGY=always_pass initially while you baseline your vulnerabilities, then tighten to fail_when_vulnerable once existing issues are resolved.
How-To: Fail Your Pipeline When High-Severity Vulnerabilities Are Found
Introduction
This task configures your CI/CD pipeline to automatically fail when Astra detects critical or high-severity vulnerabilities during a scan. This prevents vulnerable code from being promoted to production.
Prerequisites
CI/CD integration already connected (see Setup Steps above)
At least one completed scan so you understand the current vulnerability baseline
Permission to edit pipeline configuration files in your repository
Instructions
Open your pipeline configuration file (.github/workflows/*.yml, .gitlab-ci.yml, Jenkinsfile, etc.).
Add or update the following environment variables in the Astra scan step:
ASTRA_JOB_EXIT_STRATEGY=fail_when_vulnerable
ASTRA_JOB_EXIT_REFETCH_INTERVAL=10
ASTRA_JOB_EXIT_REFETCH_MAX_RETRIES=10
ASTRA_JOB_EXIT_CRITERION="severityCount[\"high\"] > 0 or severityCount[\"critical\"] > 0"
Commit and push the change to trigger a pipeline run.
If the scan finds any high or critical vulnerabilities, the pipeline step will exit with a non-zero status code, failing the build.
Expected Outcome
After a pipeline run, you should see one of the following:
Build passes — No high or critical vulnerabilities were found in this scan.
Build fails — At least one high or critical vulnerability was detected. Navigate to Continuous Scans in your Astra dashboard to review the findings.
Timeout note: For fail_when_vulnerable and wait_for_completion modes, Astra checks scan status for a maximum duration defined by your refetch settings. With the example above (interval=10, retries=10), the job checks for up to 100 seconds before stopping. Adjust these values if your scans typically take longer.
Related Tasks
To understand what each severity level means, see the Vulnerabilities overview in the dashboard.
To configure secret scanning in the same pipeline, see the Git Secret Scanning integration guide.
To reduce scan time on large applications, see the delta inventory coverage option in the table above.
Troubleshooting
The scan step runs but no scan appears in the dashboard
Likely cause: The ASTRA_ACCESS_TOKEN or ASTRA_PROJECT_ID variable is missing, incorrectly named, or empty.
Fix:
Double-check the variable names exactly — they are case-sensitive.
In GitHub Actions, ensure the secret name matches ASTRA_ACCESS_TOKEN exactly, including capitalization.
Verify the ASTRA_PROJECT_ID value by checking the Integrations page in your Astra dashboard for that specific project.
The pipeline fails with exit code 1 but there are no vulnerabilities in the dashboard
Likely cause: The scan has not yet completed when the pipeline checks for results, or the ASTRA_JOB_EXIT_REFETCH_MAX_RETRIES limit was reached before the scan finished.
Fix:
Increase ASTRA_JOB_EXIT_REFETCH_MAX_RETRIES to allow more polling attempts.
Increase ASTRA_JOB_EXIT_REFETCH_INTERVAL to space out checks and give the scan more time.
Consider using ASTRA_SCAN_TYPE=lightning to reduce scan duration in CI/CD environments.
The pipeline step hangs and never completes
Likely cause: The exit strategy is set to fail_when_vulnerable or wait_for_completion, and the scan is taking longer than expected. Astra enforces a soft timeout based on your refetch settings.
Fix:
Review and reduce the total timeout window: multiply ASTRA_JOB_EXIT_REFETCH_INTERVAL × ASTRA_JOB_EXIT_REFETCH_MAX_RETRIES to see the total wait time.
Switch ASTRA_SCAN_TYPE to lightning to significantly reduce scan duration.
If the issue persists, set ASTRA_JOB_EXIT_STRATEGY=always_pass temporarily to unblock the pipeline while you investigate.
The Bitbucket or CircleCI step cannot find the wget command
Likely cause: The pipeline image does not have wget installed by default.
Fix: Add a dependency installation step before the Astra scan step. For Alpine-based images:
apk add --no-cache wget bash
For Debian/Ubuntu-based images:
apt-get install -y wget
The scan triggers but uses the wrong project
Likely cause: Multiple projects exist in Astra and the ASTRA_PROJECT_ID points to a different one.
Fix: Navigate to Pentest → Integrations in your Astra dashboard, select the correct project, and copy the ASTRA_PROJECT_ID directly from that project's integration panel.
Next Steps
Add secret scanning to the same pipeline to detect exposed credentials and API keys in your codebase. See the Git Secret Scanning integration guide.
Configure advanced exit rules including custom severity thresholds and polling intervals. See the CI/CD scan configuration reference for DevSecOps pipelines.
Schedule overnight full scans using the Automations tab in your dashboard so your CI/CD pipeline stays fast with lightning scans while deeper scans run separately.
Review scan results after your first automated run by navigating to Continuous Scans in the Astra dashboard and clicking on the scan triggered by your pipeline.