How to Set Up an iOS or Android Target in Astra
Last updated: June 8, 2026
Introduction
Setting up a mobile app target correctly ensures Astra's scanner can run a comprehensive security assessment across all features and user roles in your application. This article walks you through the full setup process — from uploading your app build to configuring post-setup options like firewall whitelisting and AI-assisted test case generation.
Who Should Read This
Developers and security engineers who are configuring a new iOS or Android target in Astra for vulnerability scanning or a manual pentest.
Prerequisites
A valid IPA (iOS) or APK (Android) build of your application, with SSL pinning and Root/Jailbreak Detection disabled before uploading.
Valid test credentials for each user role in the app, preferably without 2FA.
If SSL pinning cannot be disabled, a Postman collection containing all requests made by the app to the server, with all environment variables defined and the authentication flow set up.
Workspace access with permissions to create and configure targets.
Instructions
Step 1: Access the Target Setup Wizard
Log in to your Astra dashboard.
Navigate to Targets from the left sidebar.
Click Setup Target.
The target setup wizard will open. Proceed through each step below.

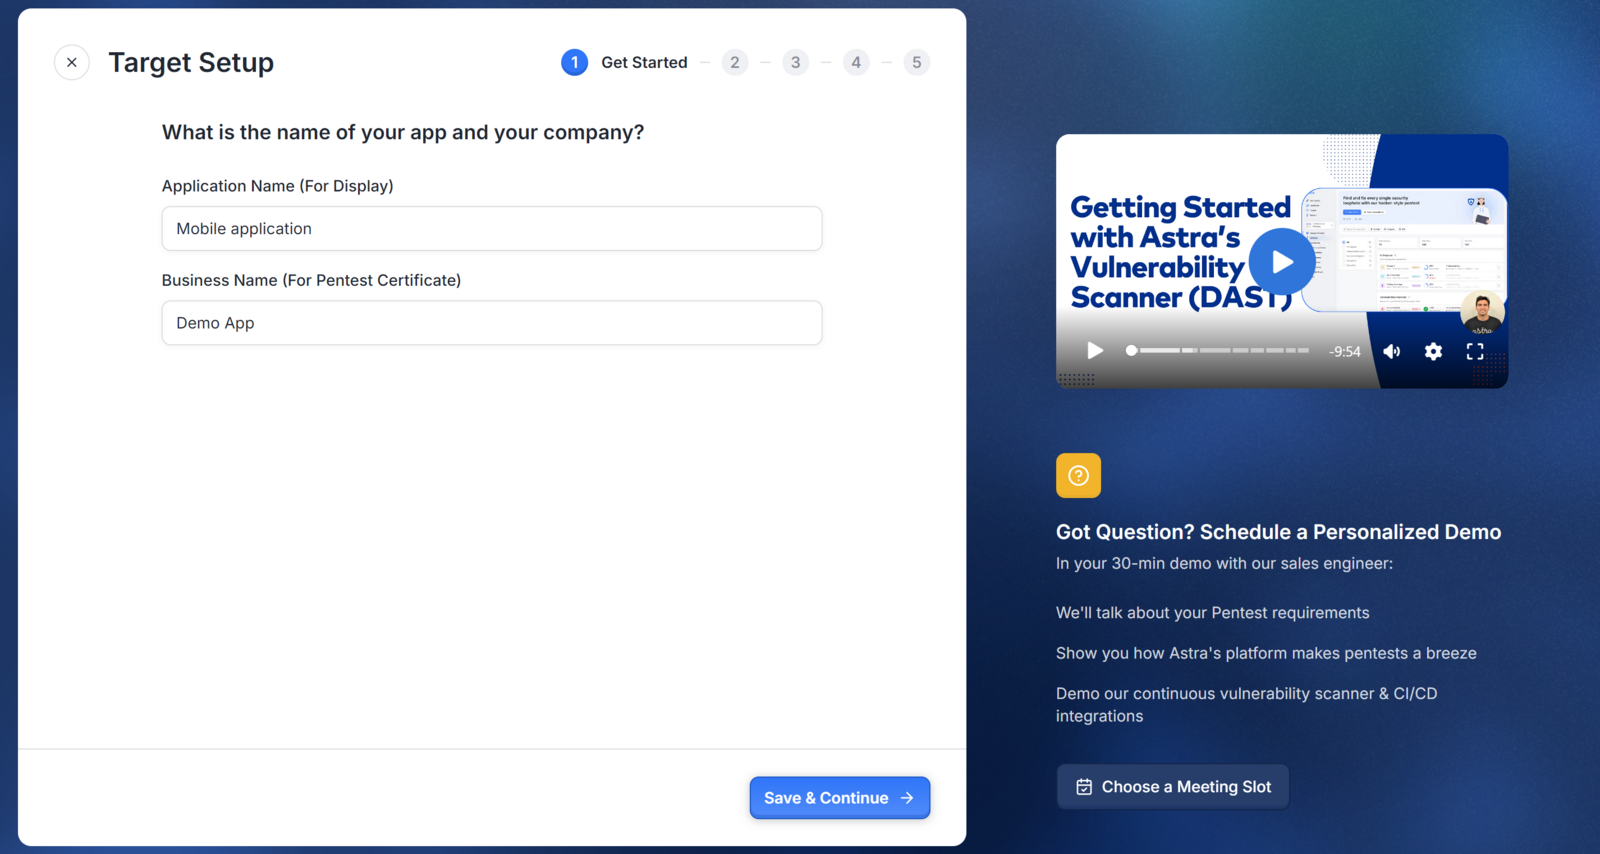
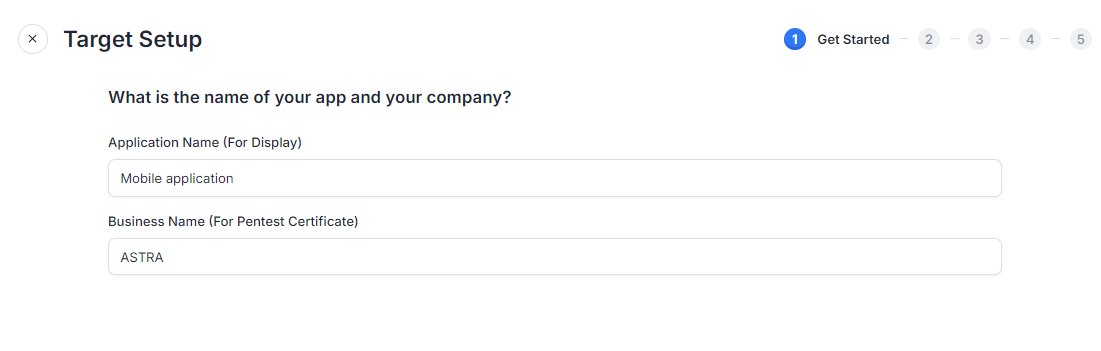
Step 2: Enter Basic Details
Enter an Application Name — a distinct label to identify the app in your dashboard.
Enter your Business Name — your company's name, used in scan results and any certificates issued.
Click save and continue to proceed.
Step 3: Upload Your IPA or APK File
Drag and drop your IPA (iOS) or APK (Android) file into the upload area.
Optionally, provide the App Store or Google Play link if the app is live. This is used for cross-referencing with the scanned version.
Click Next to proceed.
Important: A valid IPA or APK file is required to run scans and for final security certificate issuance.
Note: Disable Root/Jailbreak Detection and SSL pinning in your build before uploading. If you are unable to disable SSL pinning, provide a Postman collection with all app-to-server requests, environment variables defined, and the authentication flow configured.
Step 4: Configure User Roles
If your app supports multiple user roles:
Enter credentials for each user role to ensure the scan covers all access levels.
Click Add Another User Role to include additional roles as needed.
Note: Share test credentials without 2FA whenever possible. If login uses email, role-based email aliases work well for testing login links, email flows, and role-specific access paths. If aliases are not feasible, emails from your own domain work as well.
Step 5: Enter Payment Test Details
If your app includes payment functionality:
Enter the following dummy or test card details:
Card Name
Card Number
Expiry Month
CVV
Note: This information is used exclusively for testing within a sandbox environment and does not expose real financial data.
Step 6: Complete Setup
Review all inputs across the setup steps.
Click Complete Setup.
Step 7: Additional Configuration (Post-Setup)
After completing setup, the following options are available from your target settings.
Firewall / IP Whitelisting If your application is behind a firewall, whitelist Astra's IP ranges to ensure the scanner can reach your app. The IP range is available on the configuration page. See [Astra IP Ranges] for the full list.
App Details (AI Features) Provide additional context to help Astra's AI generate targeted security test cases:
Go to Target Settings and open the App Details section.
Enter an Application Overview — a brief description of the app's purpose and functionality (up to 3000 characters).
List 5–10 key features you want security engineers to focus on during testing, such as user authentication, payment systems, or location services.
Additional Settings
Excluded Scan Rules — Manage scan rules that are disabled for this target.
Member Settings — View and manage members and teams that have access to this target.
Subscription Settings — Manage subscription details associated with this target.
Expected outcome:
Your mobile app target is created and the scanner is ready to run.
Best Practices
Disable SSL pinning and Root/Jailbreak Detection in your build before uploading. Builds with these enabled will limit the scanner's ability to intercept and test traffic.
Use test credentials without 2FA for all user roles to ensure uninterrupted scanning across access levels.
Use role-based email aliases for login testing where possible, so email flows and role-specific paths are covered without exposing personal accounts.
Provide a detailed app overview and feature list in the AI Features section to get more targeted and relevant test cases from Astra's security engineers.
Whitelist Astra's IP ranges before initiating a scan if your app is behind a firewall, to avoid scan traffic being blocked.