How to Sign an iOS Application for Security Testing
Last updated: June 8, 2026
Introduction
Before Astra's security engineers can assess your iOS application, you need to provide a signed IPA file. An unsigned IPA cannot be installed on a test device and will throw errors during the installation process. Signing your IPA correctly ensures it can be deployed and evaluated as part of your mobile security assessment.
Who Should Read This
This article is for iOS developers or anyone responsible for preparing a mobile application build for submission to Astra's security testing team. You will need access to your project in Xcode and a valid Apple Developer account with appropriate signing certificates configured.
Prerequisites
Before you begin, ensure that:
You have Xcode installed and your iOS project is open and building successfully.
You have a valid Apple Developer account with an active membership.
Your project has code signing configured correctly in Xcode with a valid provisioning profile and signing certificate.
Your application's code is in the state you want tested. The IPA you upload should reflect the version of the app Astra will assess.
You have a secure location ready to store the exported IPA file before uploading it.
Step-by-Step: Generating a Signed IPA in Xcode
Step 1: Archive Your Application
Archiving creates a packaged version of your application that can be exported as an IPA.
Open your iOS project in Xcode.
In the top menu, ensure the build target is set to Any iOS Device (arm64) or a connected physical device. The Archive option will not be available if a simulator is selected.
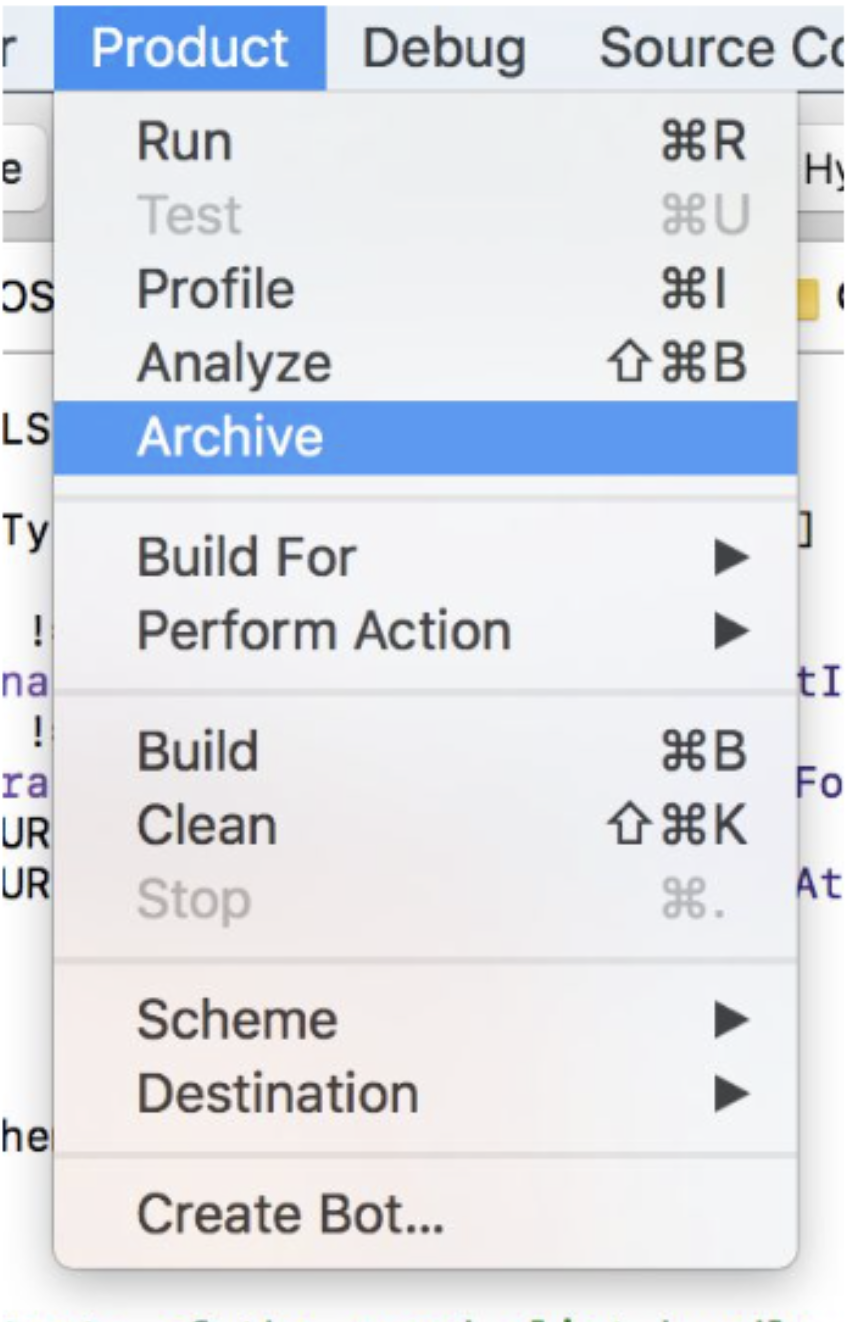
From the top menu, click Product.
Select Archive from the dropdown.
Xcode will build your project and create an archive. This may take a few minutes depending on your project size. Once complete, the Organizer window will open automatically, displaying your newly created archive.
Step 2: Open the Export Dialog
In the Organizer window, ensure your latest archive is selected in the list on the left.
Click the Distribute App button on the right side of the window.

Step 3: Select a Distribution Method and Configure Export Options
After clicking Distribute App, a sheet will appear listing available distribution methods. Select Development.

Why Development? Development exports are signed for installation on registered test devices without requiring App Store review, making them the recommended option for security testing.
Click Next.
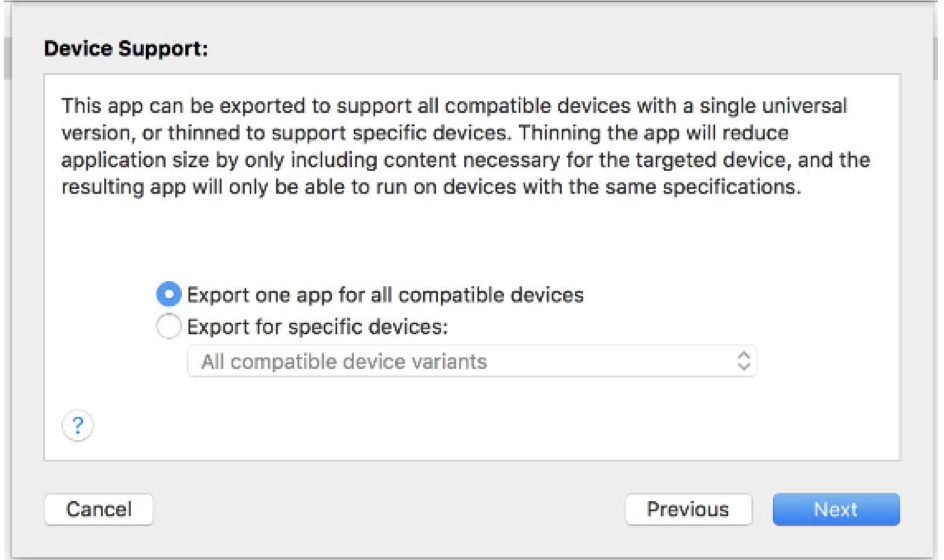
A distribution options screen will appear. Leave the default selections unless you have specific requirements, and click Next.
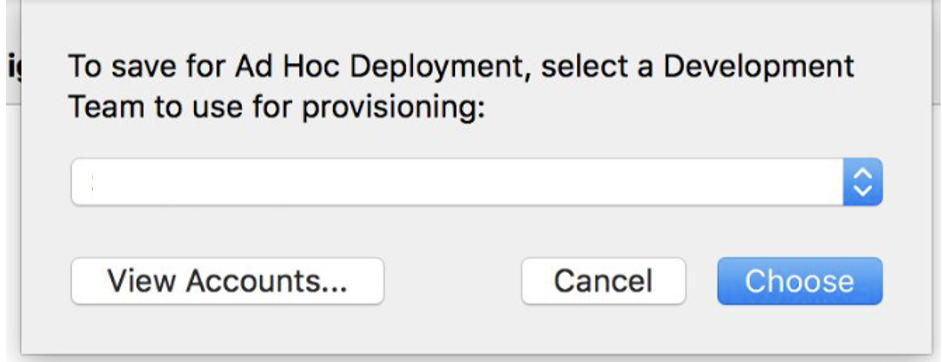
A signing options screen will appear. Choose one of the following:
Automatically manage signing — Recommended. Xcode selects the appropriate certificate and provisioning profile for your team.
Manually manage signing — Select this only if your project uses manual code signing and you want to specify the certificate and profile yourself.
Click Next.
Step 4: Review Signing Configuration
Xcode will display a summary of the signing configuration it has selected, including the signing certificate, provisioning profile, and entitlements. Review the following before proceeding:
Detail | What to Check |
|---|---|
App name and version | Confirm this matches the version you intend to test |
Bundle identifier | Confirm it matches your application's identifier |
Signing certificate | Confirm a valid development certificate is listed |
Provisioning profile | Confirm a valid development profile is listed |
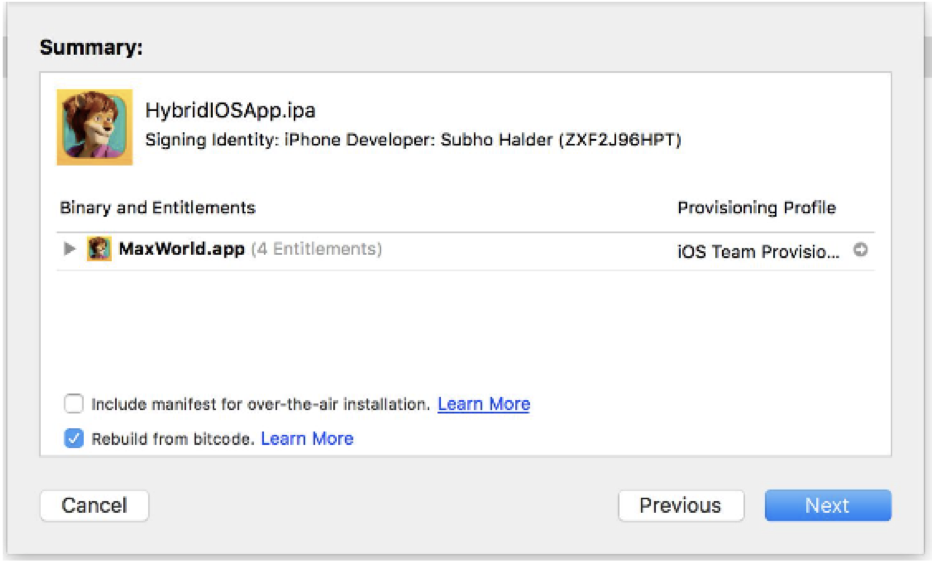
If everything looks correct, click Export.
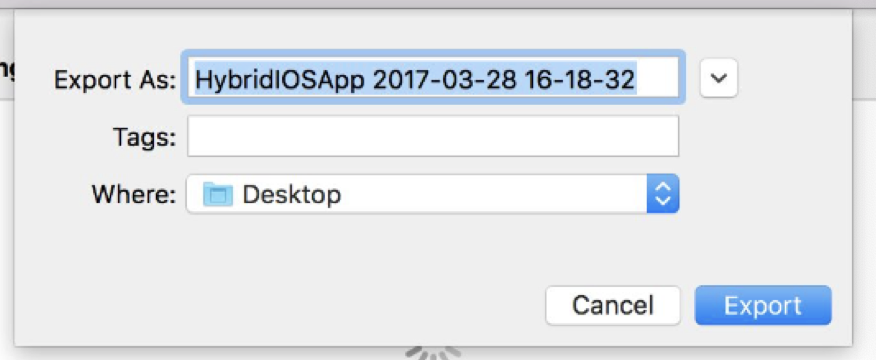
Step 6: Save the IPA File
A save dialog will appear asking where to export the IPA file. Choose a location on your machine that is easy to find, such as your Desktop or a dedicated project folder.
Click Export to save the file.
Xcode will generate the signed IPA file and save it to your chosen location. The exported folder will contain the .ipa file along with some supporting files. You only need the .ipa file for upload.
Step 7: Upload the IPA to the Astra Dashboard
Log in to your Astra dashboard and navigate to your iOS/Android Target Setup.
In the Upload IPA/APK File step, drag and drop your signed .ipa file into the upload area, or click to browse and select it.
Optionally, provide your App Store link if your application is already live, for cross-referencing purposes.
Expected outcome:
The IPA is successfully uploaded and your target setup can proceed to the next configuration step.
Best Practices
Always export as a Development build rather than an Ad Hoc or App Store build when submitting to security vendors. Development builds are appropriate for testing environments and do not require your production distribution credentials.
Use a dedicated testing provisioning profile rather than your production distribution profile. This keeps your production signing credentials separate and secure.
Confirm the archive reflects the correct app version before exporting. If you make code changes after archiving, create a new archive to ensure the IPA matches what you want assessed.
Label your exported IPA files clearly before uploading, for example: appname-v1.2-testing.ipa. This makes it easy to identify which build was submitted for testing.
Ensure your provisioning profile has not expired before attempting to export. An expired profile will cause the export to fail or the IPA to be uninstallable on test devices.
Refer to Apple documentation here for more details : https://help.apple.com/xcode/mac/current/en.lproj/dev23ea8b877.html#dev23ea8b877)[Export
Troubleshooting
The Archive option is greyed out in the Product menu.
This happens when a simulator is selected as the build target instead of a physical device or "Any iOS Device". Change the build destination in the scheme selector at the top of Xcode to Any iOS Device (arm64) and try again.
Xcode shows a code signing error during the archive process.
This usually means your signing certificate or provisioning profile is missing, expired, or misconfigured. Go to Xcode → Settings → Accounts, ensure your Apple Developer account is signed in, and download the latest provisioning profiles. You can also check signing settings under your target's Signing & Capabilities tab.
The Organizer window did not open automatically after archiving.
You can open it manually by going to Window → Organizer in the Xcode top menu. Your archive should appear in the Archives tab.
I cannot find the Export or Distribute App button.
Ensure you have selected an archive in the Organizer window. If the archive list is empty, the build may not have completed successfully. Check the Xcode build log for errors.
The IPA fails to install on a test device.
Confirm that the export method used was Development and that the test device's UDID is registered in the provisioning profile used for signing. If the provisioning profile does not include the test device, the IPA will not install. Update the profile in your Apple Developer account and re-export.
I accidentally exported using the wrong distribution method.
Simply repeat the export process from Step 2 in the Organizer, this time selecting the correct distribution method. The original archive remains available and can be exported again without needing to rebuild.
My IPA file size is unexpectedly large.
This is common with Development builds as they include additional debugging symbols. The file size will not affect the security assessment. If you encounter upload issues due to file size, raise a support ticket before uploading and our team will advise.