Cloud Target Setup
Last updated: April 22, 2025
Configuring a cloud target for security scanning is essential to ensure the safety and integrity of your cloud infrastructure. This guide will walk you through the process of setting up your cloud environment for a thorough security assessment. By providing accurate information and credentials, you’ll enable the scanner to effectively evaluate your cloud assets and identify potential vulnerabilities.
Access the Scanner Setup
To begin, navigate to the Targets page and click on the Setup Target button.

You will be directed to the target setup wizard, where you can update and configure the target.
Breakdown of each step
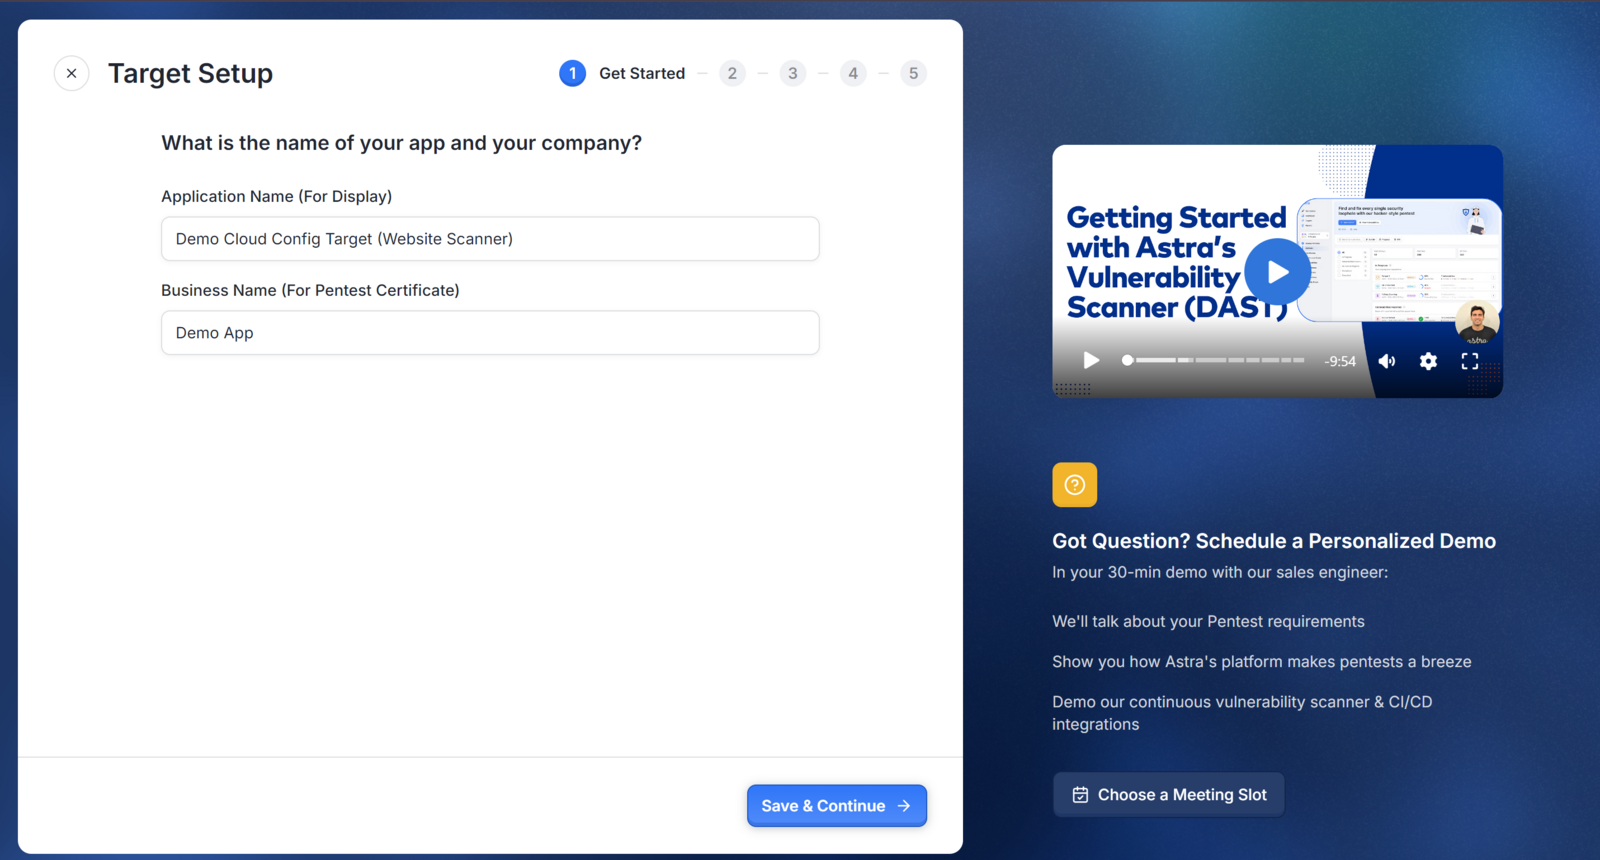
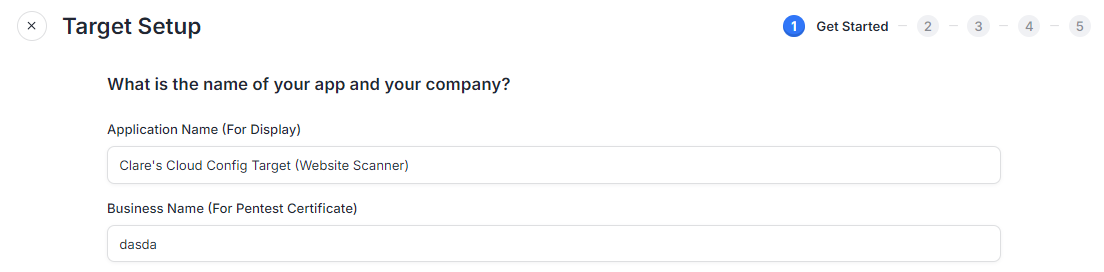
1. Get Started
Begin by providing basic details about your cloud environment:
Application Name (For Display): Enter a descriptive name for your cloud target. This helps in identifying the target within the dashboard.
Business Name (For Pentest Certificate): Provide your company’s name, which will be used for issuing the pentest certificate.
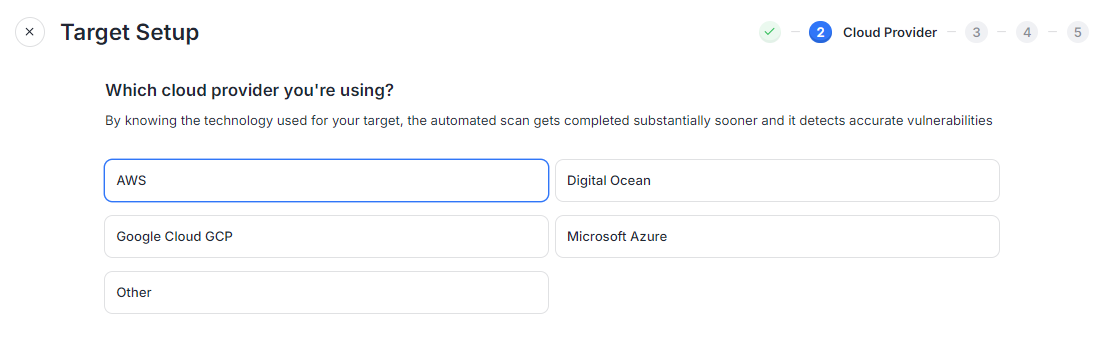
2. Cloud Provider
Specify the cloud provider you’re using. This helps the automated scan to complete more efficiently and detect vulnerabilities accurately based on the specific features and configurations of your cloud environment:
AWS
Digital Ocean
Google Cloud (GCP)
Microsoft Azure
Other (Please specify if you’re using a different provider)

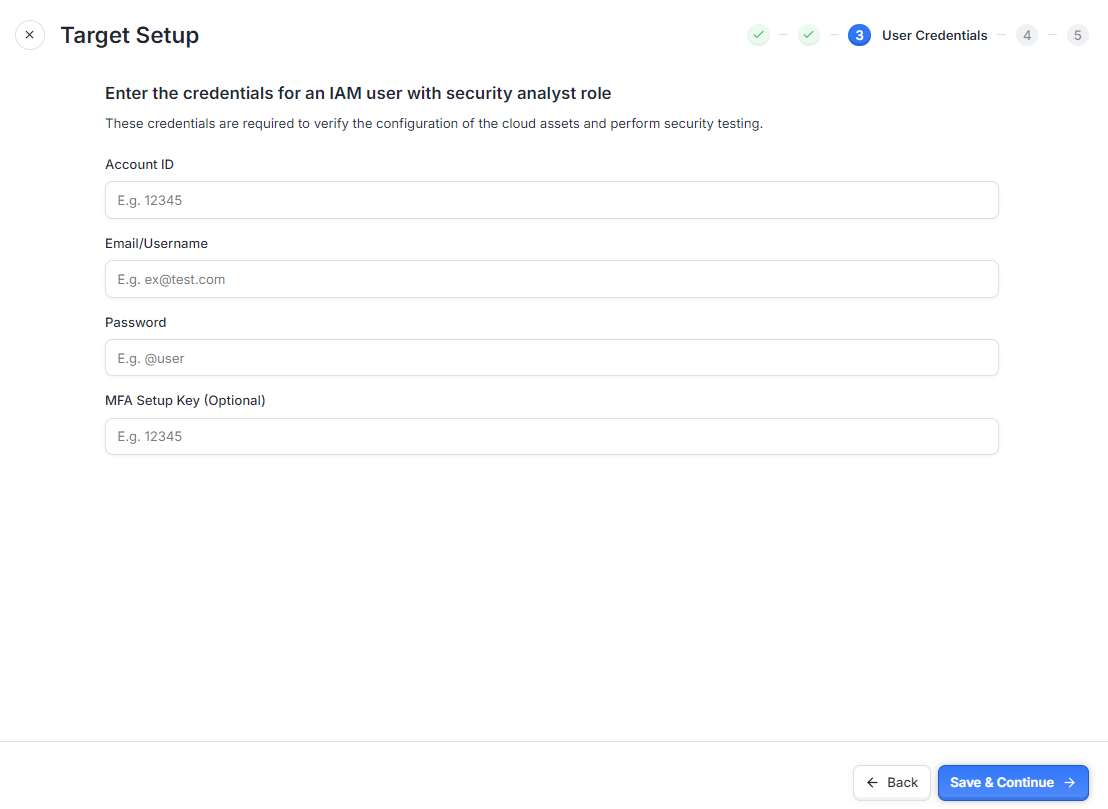
3. User Credentials
Enter the credentials for an IAM user with a security analyst role to facilitate the verification of your cloud assets and perform security testing:
Account ID
Email/Username
Password
MFA Setup Key (Optional): If your account uses Multi-Factor Authentication (MFA), provide the setup key to enable access.
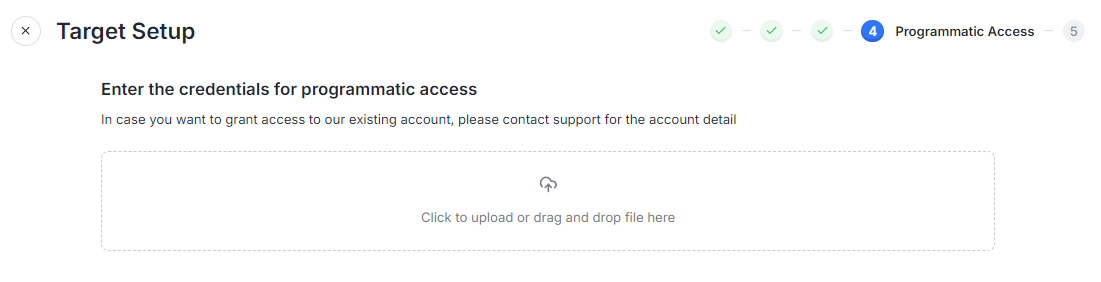
4. Programmatic Access
Provide credentials for programmatic access to grant the scanner automated access to your cloud account. It ensures that the scanner can perform a comprehensive assessment without manual intervention:
Upload Programmatic Access File: Click to upload or drag and drop the file containing the necessary programmatic access credentials. If you need to grant access to an existing account, please contact support for account details.
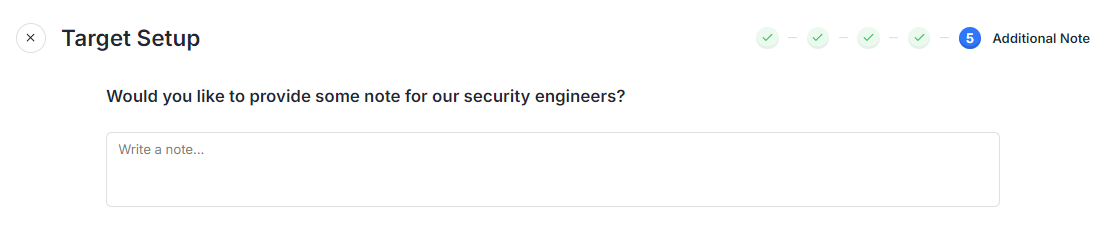
5. Additional Notes
Use this section to provide any extra information that may be relevant for the scanning process:
Special Instructions: Include any specific configurations or areas of concern.
Rate Limiting Details: Mention any rate limits that might affect the scanning process.
Focus Areas: Highlight particular assets or configurations that should be prioritized during the scan.

6. Complete Setup
After reviewing all the information you’ve provided, click Complete Setup to finalize the configuration for your cloud target. This will initiate the security scan of your cloud environment.
| If you have any questions or need further assistance, please reach out to our support team.